
Customization is a good thing. Fennifer feature an option which allows users to upload their very own custom image header to obtain a much more personalized look and feel.
Uploading a Custom Header Image
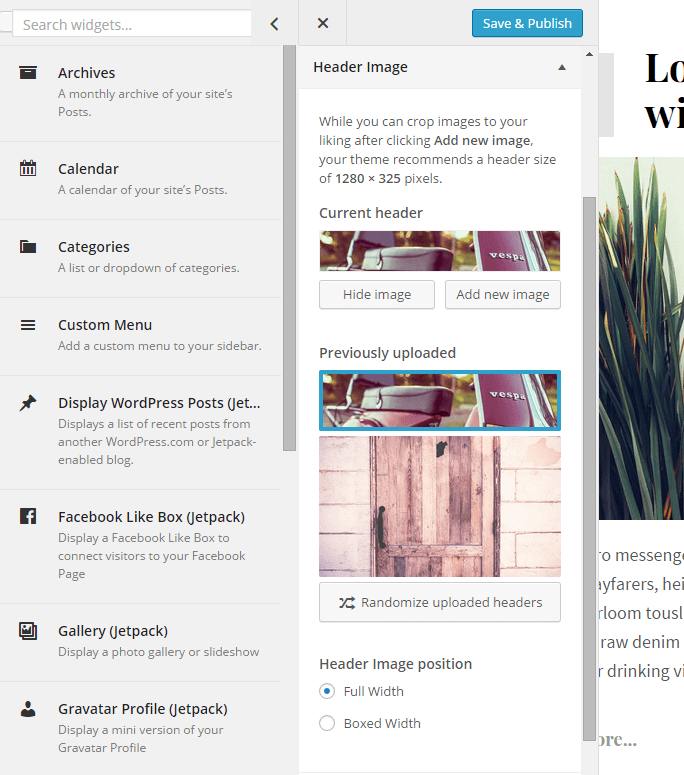
To get started, open the Customizer. Not familiar with the Customizer? Just hover over your blog’s name in the admin bar and click Customize. There, look for section Header Image. Here, you may choose between your own images—if you have recently uploaded any—and a selection of suggested images if it has any. Want to add a new image instead? Easy! Just click Add New and you’ll be able to choose images from your blog’s media library or upload an image from your computer—just drag and drop. Once you’ve chosen an image, you can crop it to your liking, or you may skip this step if the size of the image fits Jennifer’s dimensions.
Like what you see? Hit the Save button at the bottom right to apply changes.
Deleting Header Images
If you decide you want to delete one of your custom header images, you can do so by going to Media → Library and clicking on “Delete Permanently” underneath the image.
Header Text
You can change the color of that text from the Customizer using the Colors tool. You can also edit your blog’s title and tagline from the Customizer in the Colors panel.
Сообщить об опечатке
Текст, который будет отправлен нашим редакторам: